|
Ear
Training - Installing ear tape forms
LAST
UPDATE 03/29/2016
|
You should have removed previous tape
the day before and let the ears have a break.
Clean the ears again with rubbing alcohol before you started building the ear tape
forms.
You want the ear clean of oil and ear wax where the tape will be applied
to.
Clean the lower ear first where most of the wax exist, so you don't move
it up to the rest of the ear later.
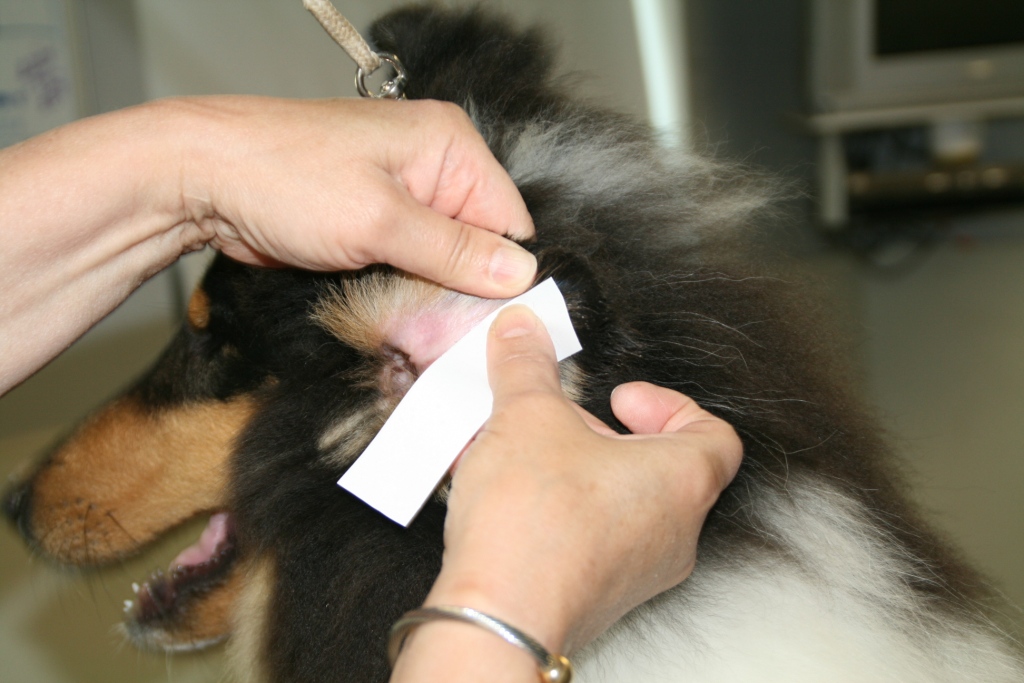
Now it's time to clean them one more time with Japanese tape.
Cut a 3 to 4 inch piece of tape and rub ears using the sticky side of
the tape.
It will remove any remaining oil or residue remaining on the ears.
NOTE: You may
want to experiment with not applying the glue. We found if you clean the
ears well
and create a warm bond by pressing/rubbing the tape that is applied to
the skin you can get the same results.
The advantage without the glue is you don't have the glue residue to
cleanup when the tape comes out.
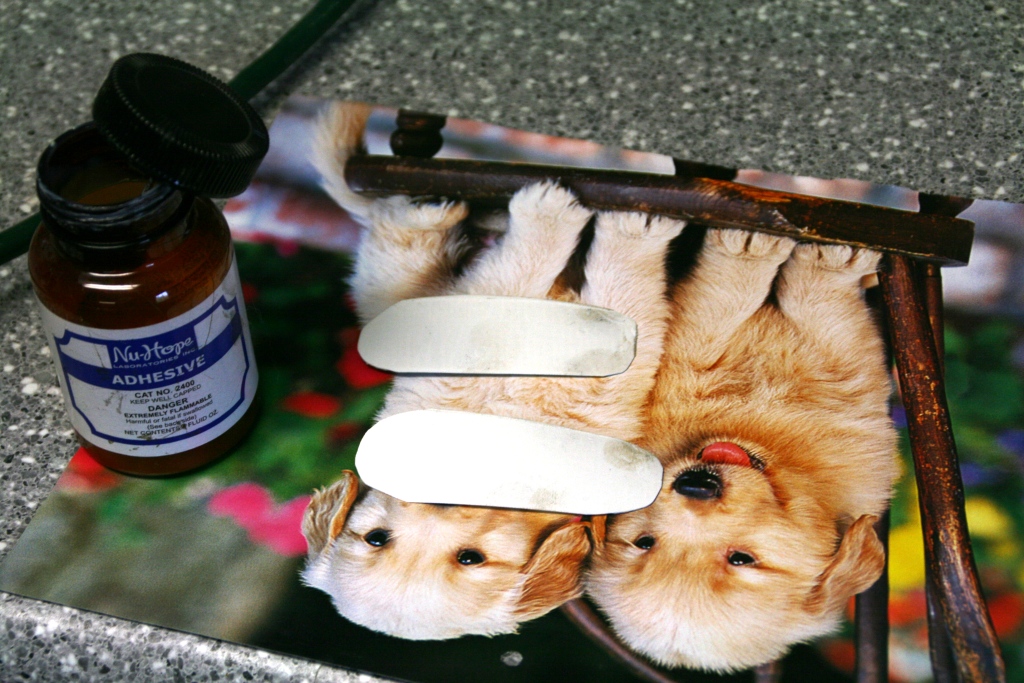
Put glue on your tape that will be put in
each ear.
We like to use old calendars for a gluing surface, so they can be thrown
away....
Try not to get the sticky part of the tape dirty like below.
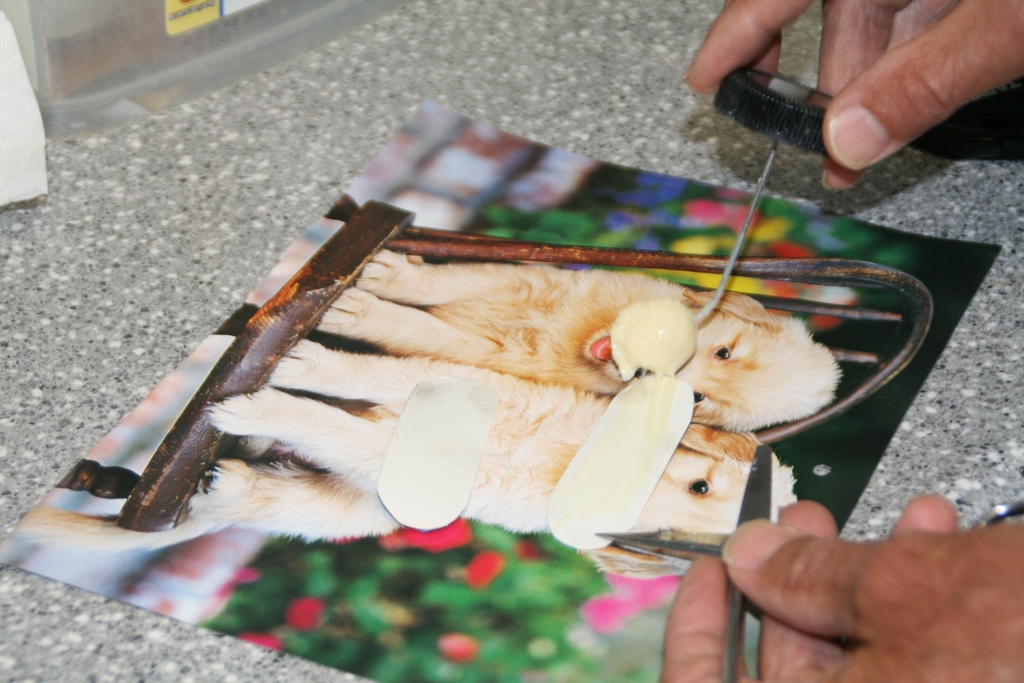
Notice we're holding the tape down with the point of a scissors.
Your glue brush wants to hang on to the tape so you need something to
hold it and remove later.
You want a thin even layer of glue on the sticky side of the form.
You want to let this dry and become tacky before you put it in their
ears.
It depends on how thick of glue you have but wait at least 3-5 minutes.
After waiting 3-5 minutes it's time to put the ear tape in.
You should have cleaned the ears for the last time with the Japanese
tape.
Pick up the ear tape by its edges and fold back the ear with your free
hand.
You need someone doing the taping and another person holding the
puppy.
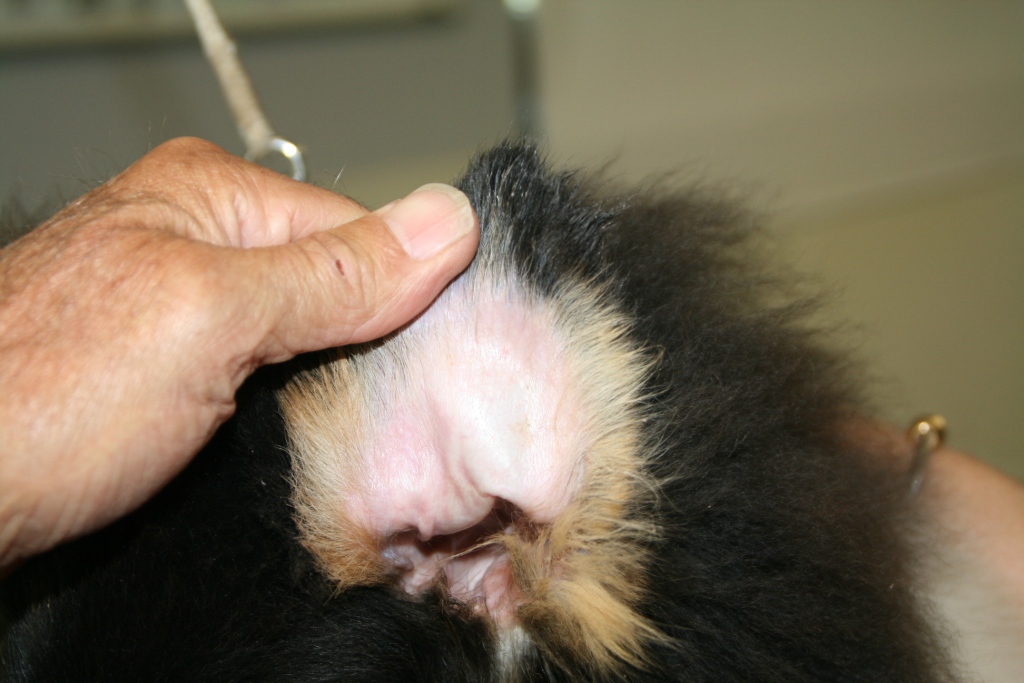
Now put the tape in the ear starting at the top of the
ear and then lay it down.
The second hand here is really helpful keeping the hairy part of the ear
out of the way.
While one person gets the other ear tape the holder can press the tape
on the ear.
Note: If you're not using glue, this is the piece you
want to press/rub well to the skin to create the warm bond.
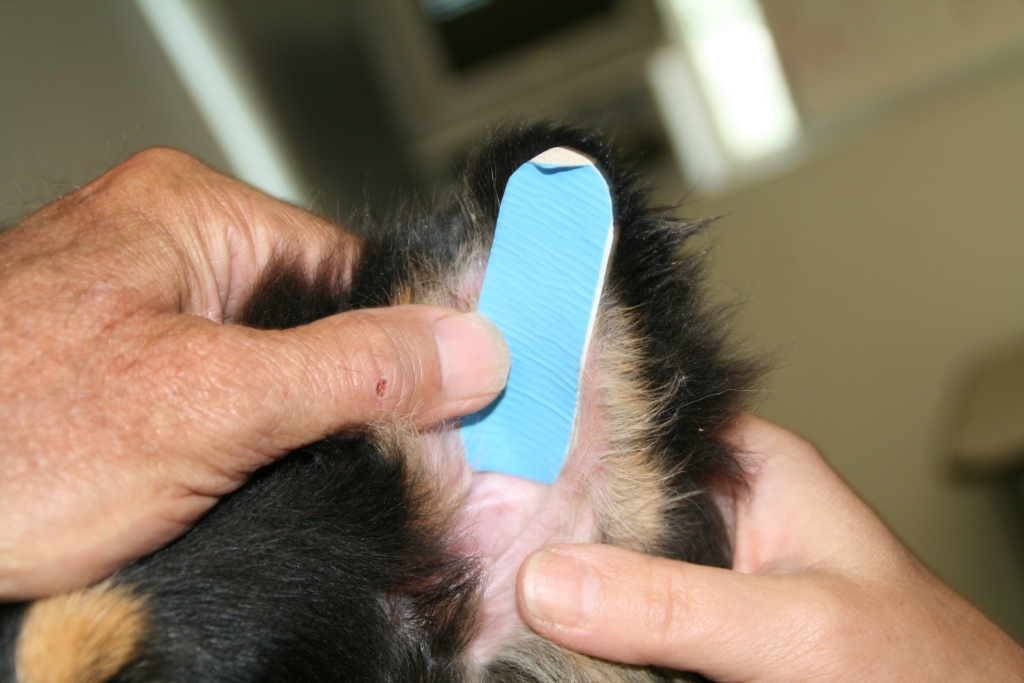
Once you have the tape in and pressed good let this set to the ears
for at least 30 minutes.
If you try to put the cross brace in too early your glue won't hold, if
you put any tension between the ears with the brace.
If you're doing multiple puppies you can do this stage on the next
puppies before returning to the cross brace.
You can also crease where you want the fold to go now, so you can see
where you want the brace to go later.
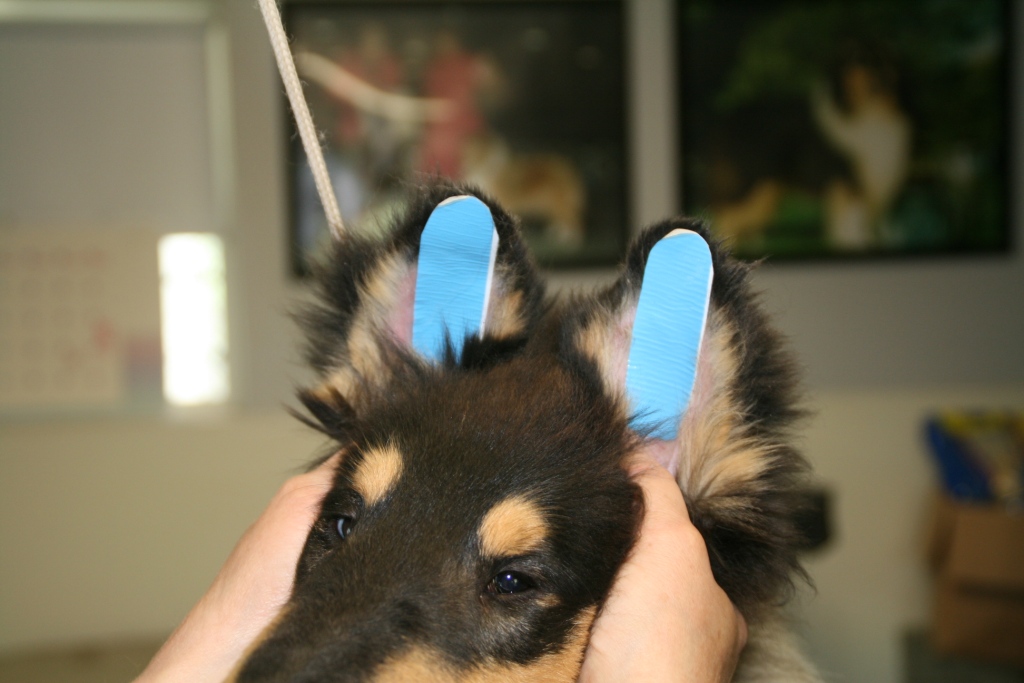
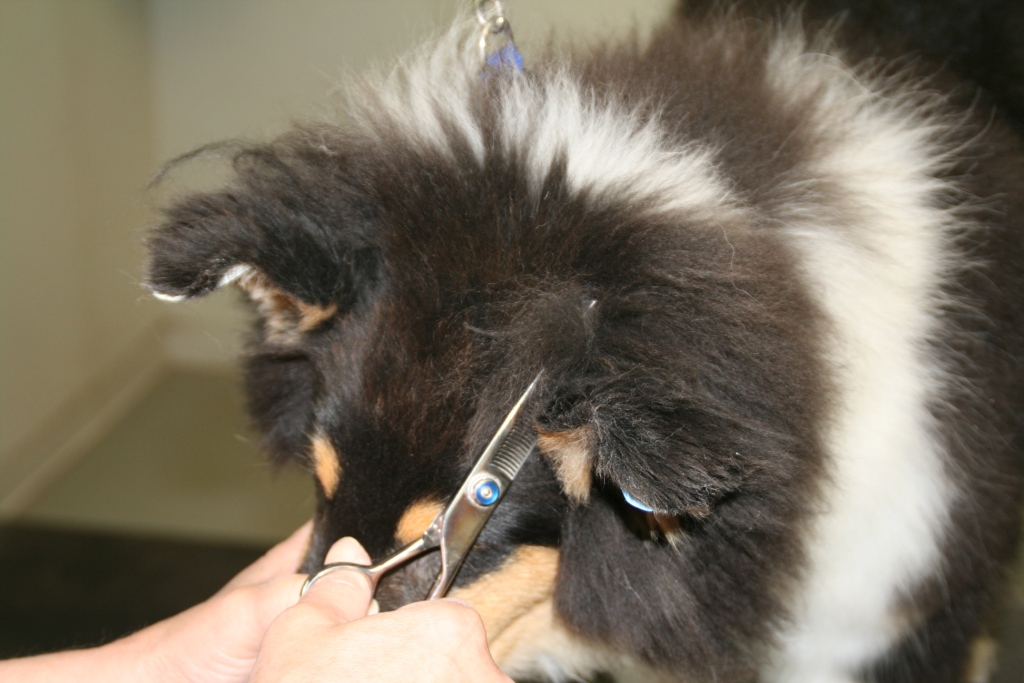
Make sure you trim the hair between the ears before putting the brace
in.
Preferably do this the day before and eliminate the hair mess.
It will be less pressure on the brace. if you have the hair trimmed.
After at least 30 minutes it's time to remove the film from the ear
tape.
Having the film peeled back a bit on the corners will pay big dividends
now.
The sticky part of the tape will naturally not stick to other hair, if
you're careful.
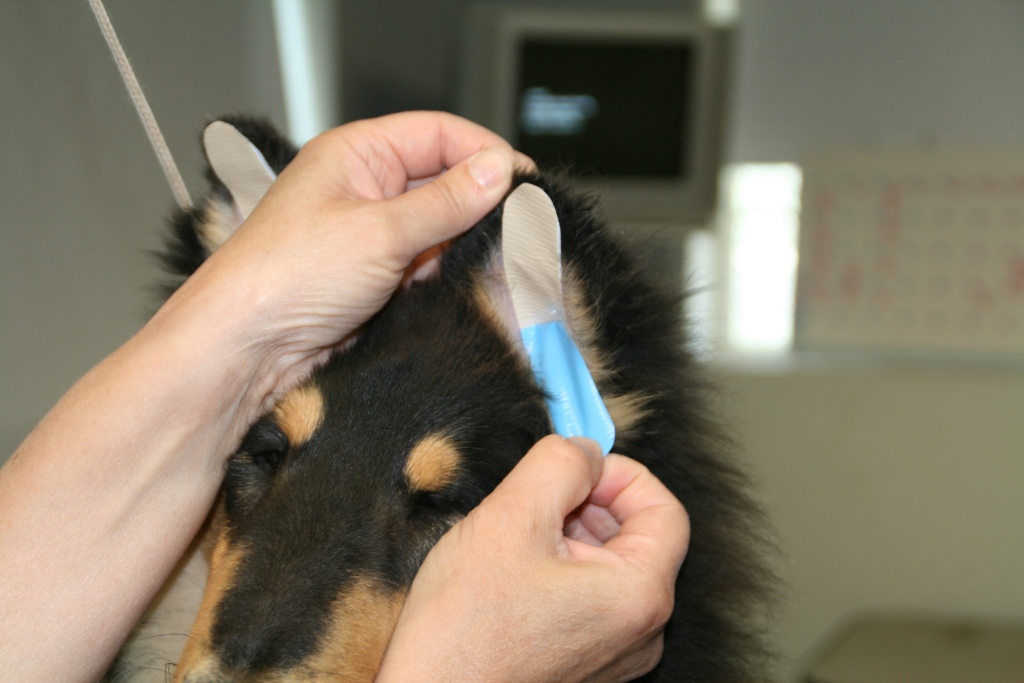
Now get your brace ready to put in.
Notice the crease where the tape was folder earlier.

This is usually the hardest part so take a deep breath.
Put the sticky side of the brace on one of the ears first.
Remember you end goal is to have the ears together.
So when you attach the other side and the tape is a little off that's
okay.
You're better off having a weak brace then an incorrect brace.
The brace was put on the left ear below first.
Notice the right side is a little longer than it should be, but the ears
are together.
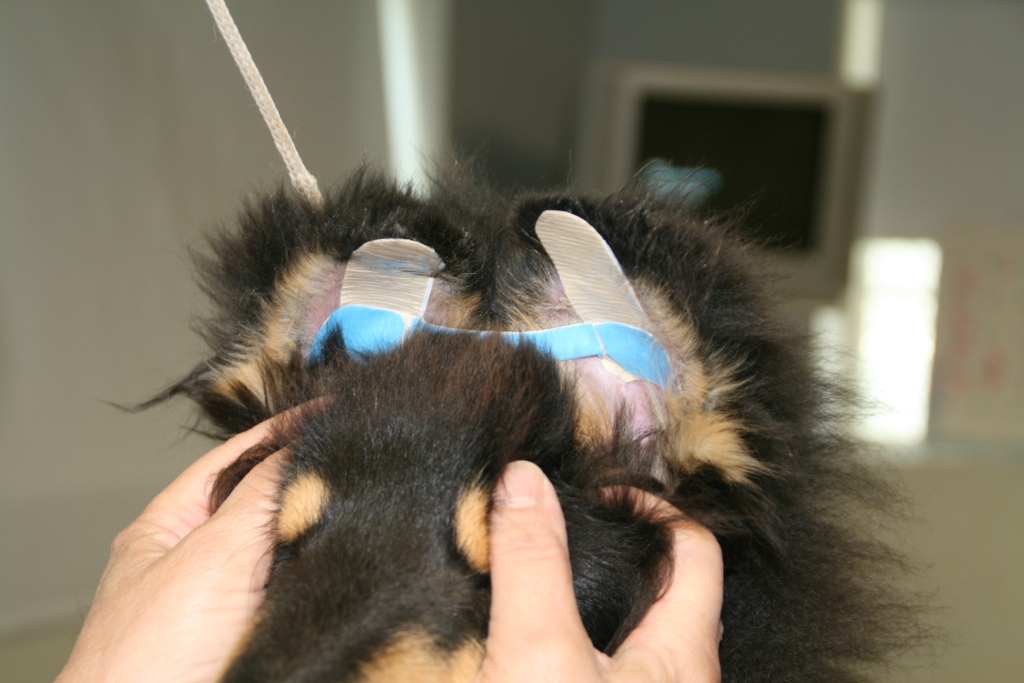
Now remove the film on one side of the brace and fold the ear down.
Put the fold where you think it would be most desirable.
We prefer it a little more then 1/4 of the ear tipped while training.
We also like the tip of the ear more in line with the outside of the
ear.
The tip below could be a little more to the outside of the ear.
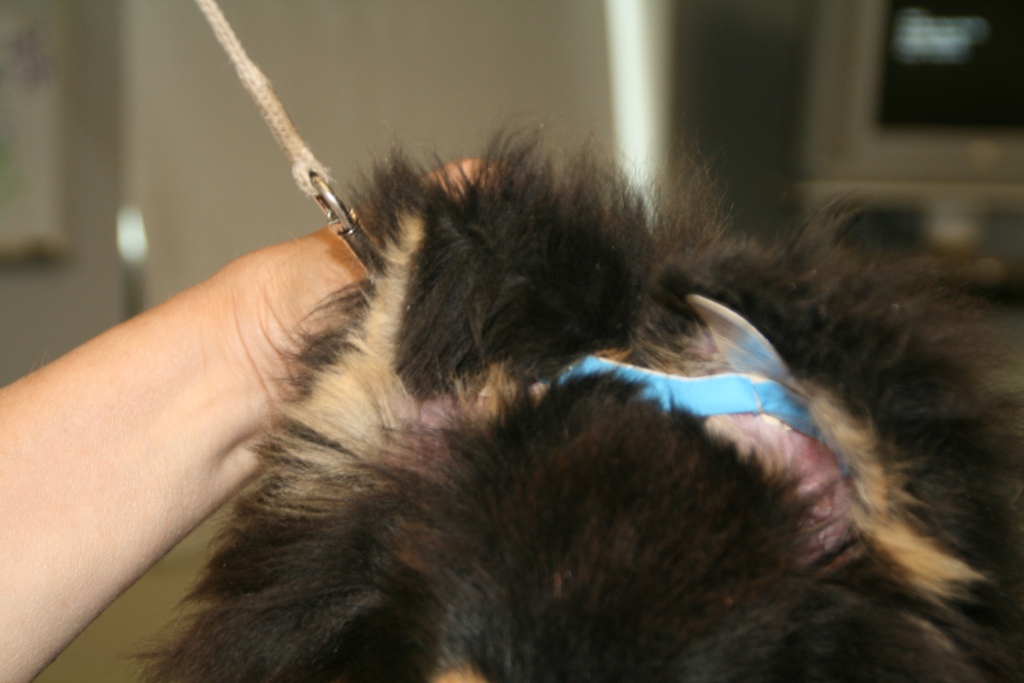
After getting both tips glued down hold the tip down
and fold the ear back.
Now check to make sure no hair is caught and pulling.
When you put your puppy down and they start scratching their ears it
probably means you have hair caught.
The second major reason why a brace doesn't stay is a puppy
digging at caught hair.
Give your puppy a treat or something to chew on and watch them for
awhile.
If you've done it right they won't be bothered by the tape.
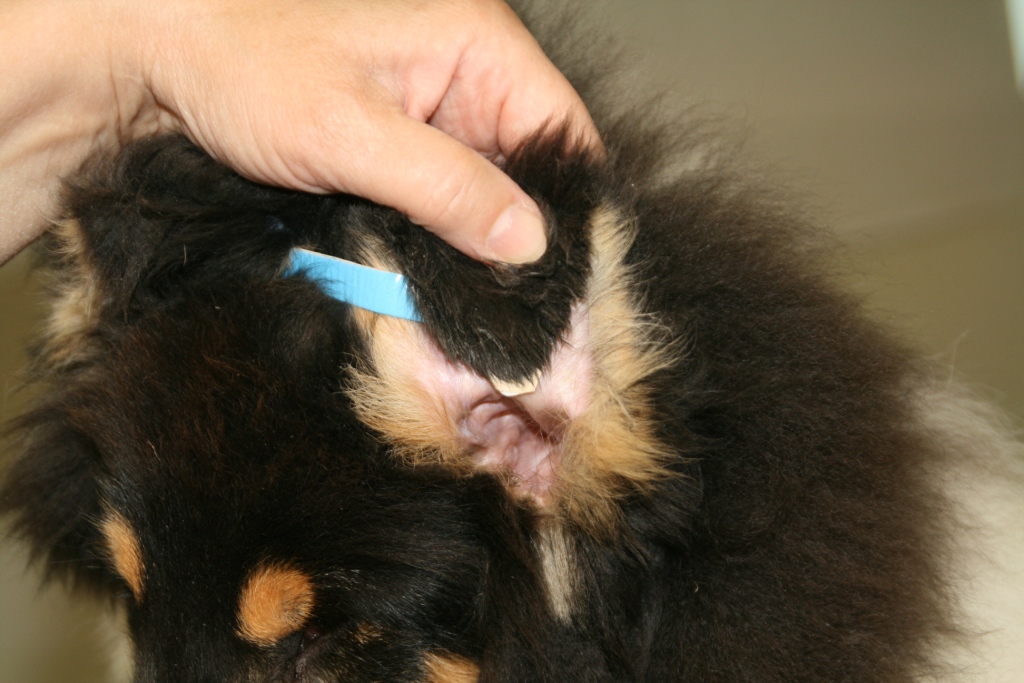
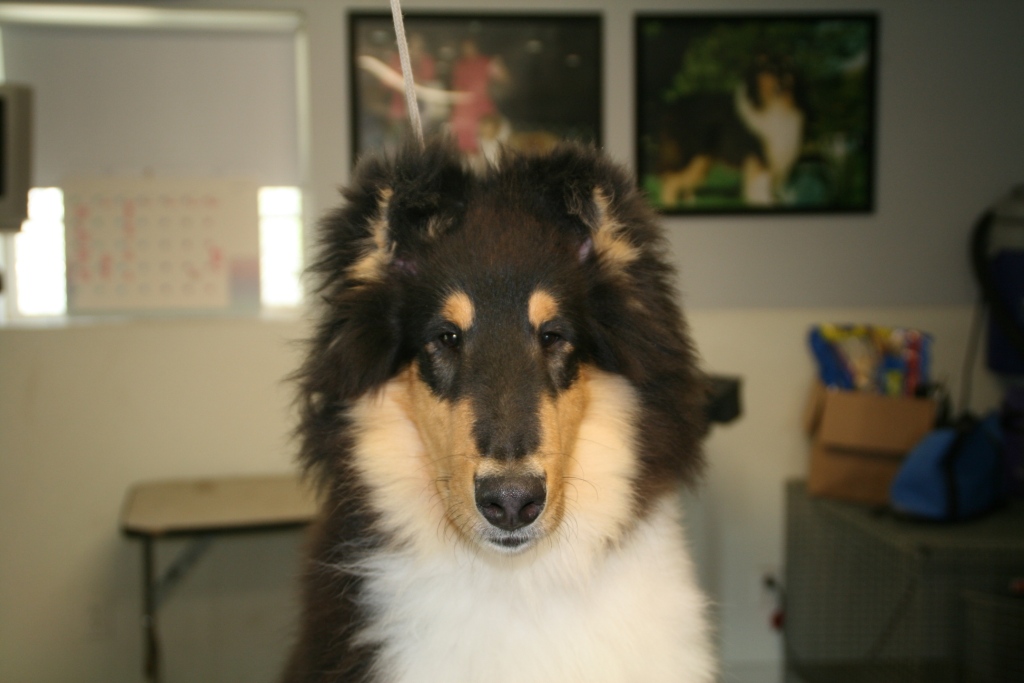
Here is the finished product with the puppy looking for his treat, rather
than being worried about his new dew.
Remember to make this a pleasant experience for your puppy, so they
won't mind your next ear training session.
